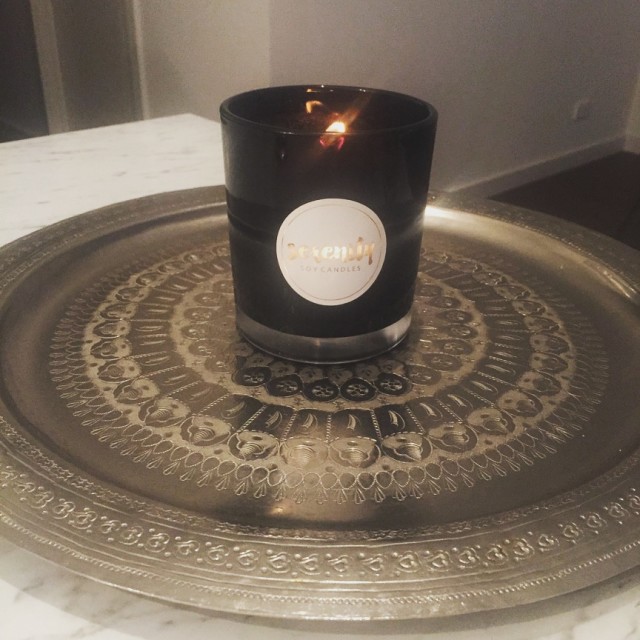
Everyone loves candles right? Except my husband. But enough about him. We wanted to share with you HOW to make these gorgeous soy candles from HOME!
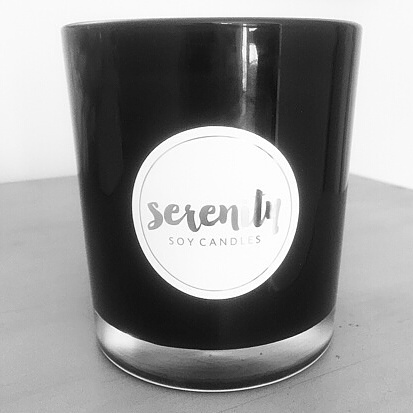
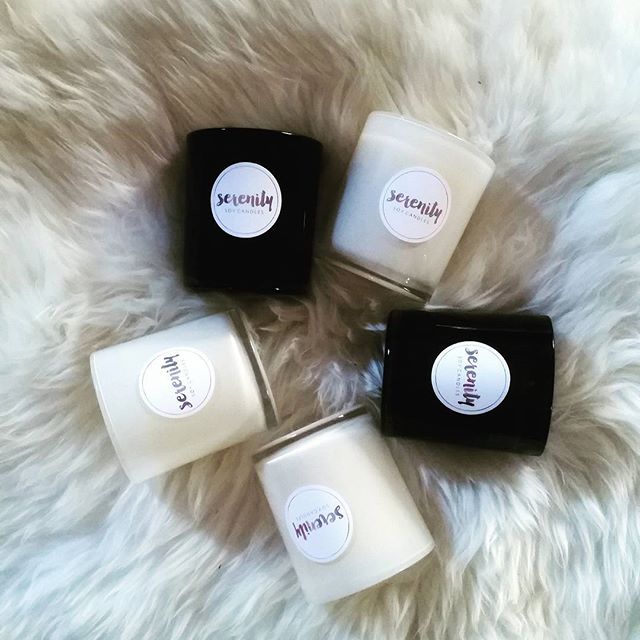
Kimberley Monger is an Adelaide mum who started her own business while on maternity leave making soy candles. Serenity Soy Candles are made and hand-poured right here in Adelaide. Now she’s sharing her secret…
Hayley xx
How to make a Candle at Home in 6 easy steps:
Guest blog by Kimberley Monger :: Serenity Soy Candles

STEP 1
STEP 2
Now the fun begins, get a pot and fill with water ¾ full, from here get another pot that your soy wax will go in so preferably something easy to pour with. Place the wax into the pot and then place the wax pot into the boiling water. Wait until the wax has completely melted. Check the temperature of the wax, you need to make sure the wax has reached to around 75-85degrees, once it has reached the temperature take it off the stove.
STEP 3
Now that the wax is at the right temperature its time to decide on the scent that you would like your candle to be. At Serenity we have 5 different scents that we use.
Vanilla
Black Raspberry
Cucumber Melon
Coconut & lime
Bamboo White Lilly.
STEP 4
Pour the scent into the melted wax and make sure that you stir the scent around the wax.
STEP 5
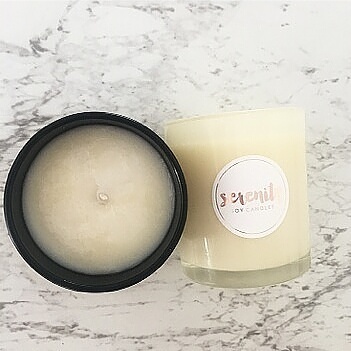
Now that the scent is mixed into the wax, simply pour into your glass jars and wait for your wax to set.
STEP 6
Once the candle is set, trim the wick (as most wicks you purchase are normally really long.) Wait 48 hours before you can burn and enjoy your candle.
Just a little tip to get the most out of your candles:
Trimming the wick to a ¼ inch prior to burning creates an even flame. Doing this will increase the candles burn time and keeps the scent fresher for longer.
Why Soy?
When I decided to make candles I wanted to use something that was better for the environment and after doing some research I found that soy wax is much more environmentally friendly compared to other waxes on the market today. There’s a lot of harmful chemicals in the world and if I can try and help a little, then it all helps in the long run right?
Another positive about soy wax is that it has excellent fragrance holding qualities, which means that Serenity Soy Candles gives a longer lasting and even scent throughout the time the candle is burning.
The only thing that we add to our candles is high quality fragrance oils. The fragrance oils are body safe which means that once the soy wax has cooled down after burning you can use it as hand cream, making your hands feel amazing.
Enjoy your homemade candles!
Kimberley xx