
Hair. I don’t know about you, but I never know what to do with mine! I try to be creative by styling it, then I end up all flustered and leave home with another boring topknot! I’ve had more fights with my hair than I’ve had with my husband! So here’s a little hair inspo for you, from the modern day Rapunzel — Christina Butcher. She’s a full-time blogger, New York Times bestselling author and the creator of Hair Romance. She fights bad hair days — and wins!
Hayley x
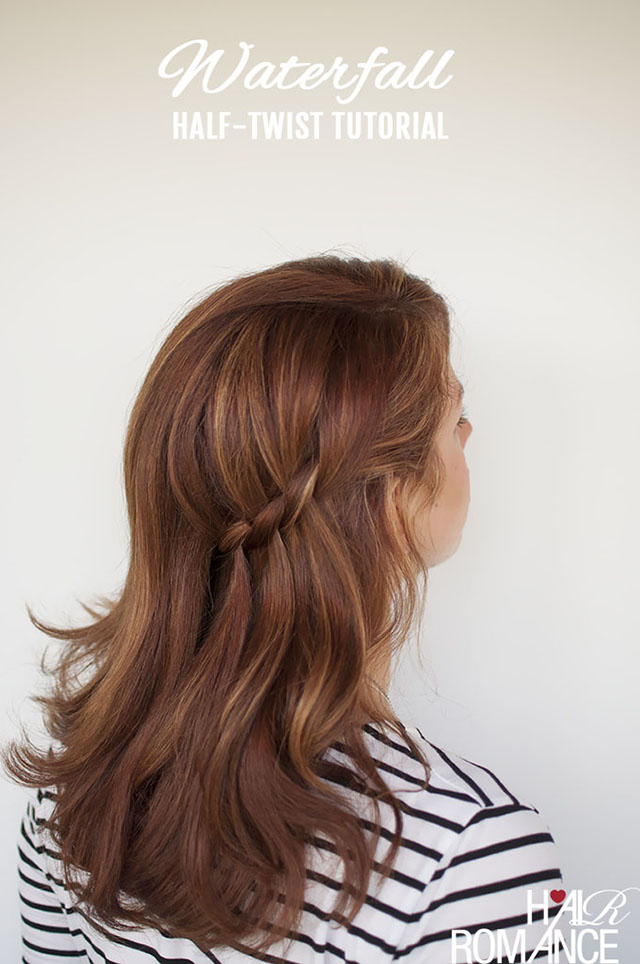
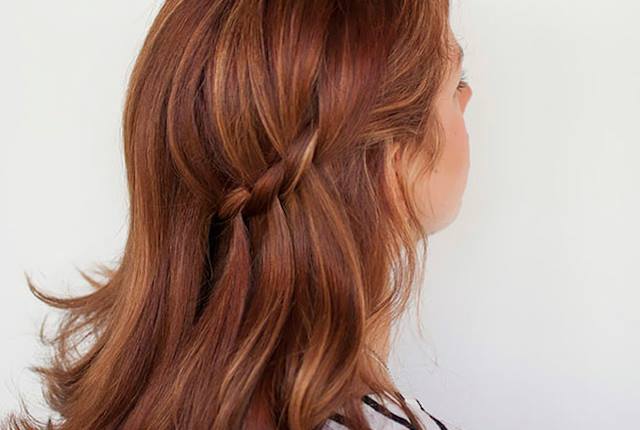
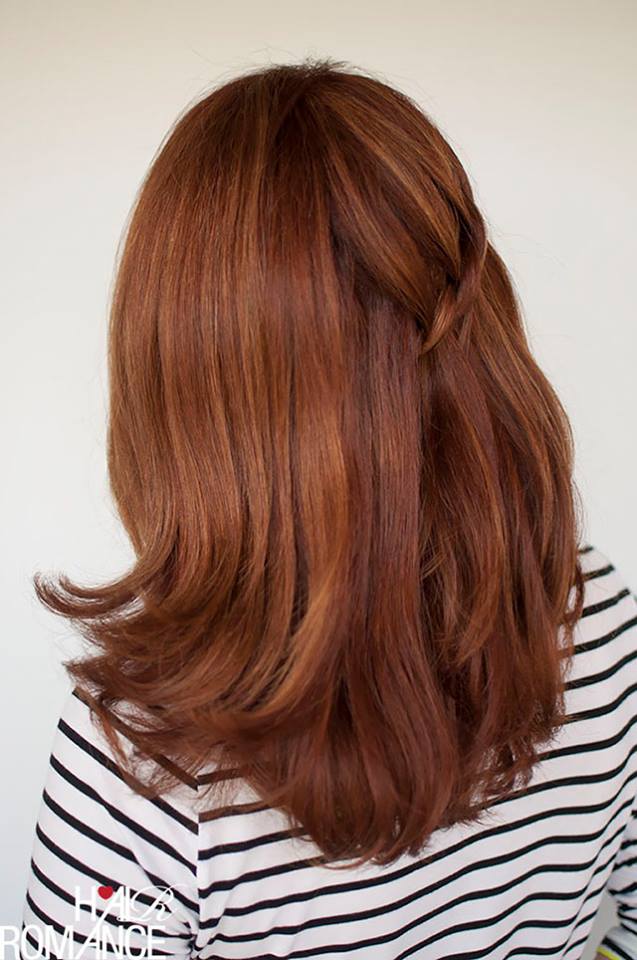
If you’re always tucking your hair behind your ear, I have a chic solution for you. My Waterfall half-twist tutorial is just 3 twists and a pin — it’s so quick to do. This pretty solution looks like a complicated braid but it’s simply a twist.
A Waterfall Twist is a variation of the Waterfall Braid but instead of three sections there are only two sections. You start with two sections at the front and then the loose waterfall sections just travel between the two twisting pieces without combining with the actual braid at all.
Equipment needed ::
Bobby pins
Small hair elastic (optional)
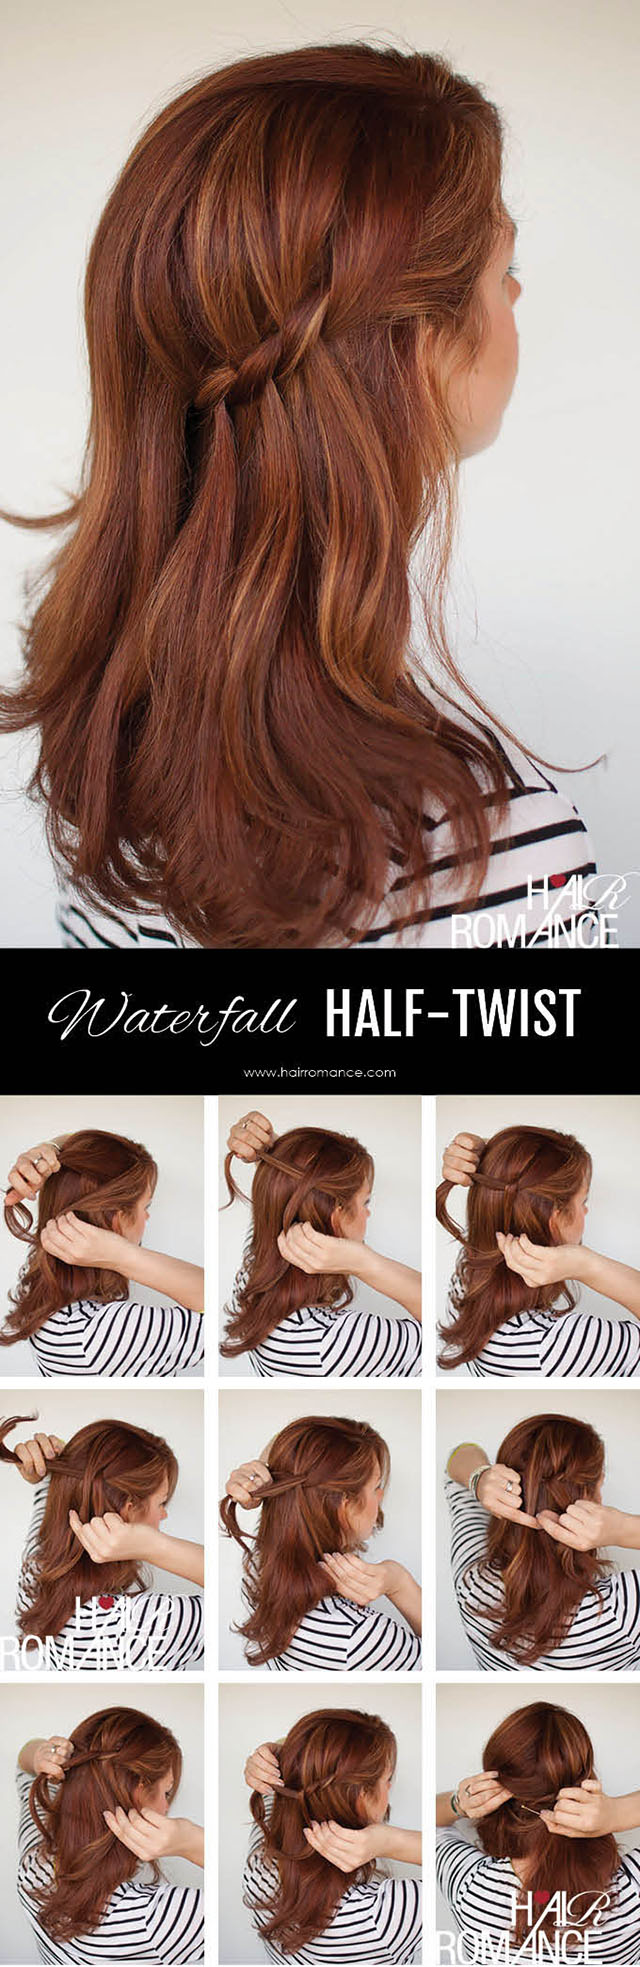
Step-by-step tutorial ::
1. Brush your hair to remove any knots to make it easier to braid. If your hair is curly skip this step!
2. Then take a large section of hair on the right hand side. Split this into two and twist the top section around the bottom section.
3. Take a section of hair from above the twist, near your part, and place it between the two twisting pieces. It doesn’t connect, it just goes straight through.
4. Twist the two original pieces. Take another section from above two twisting pieces and place it through again. Twist the two sections again.
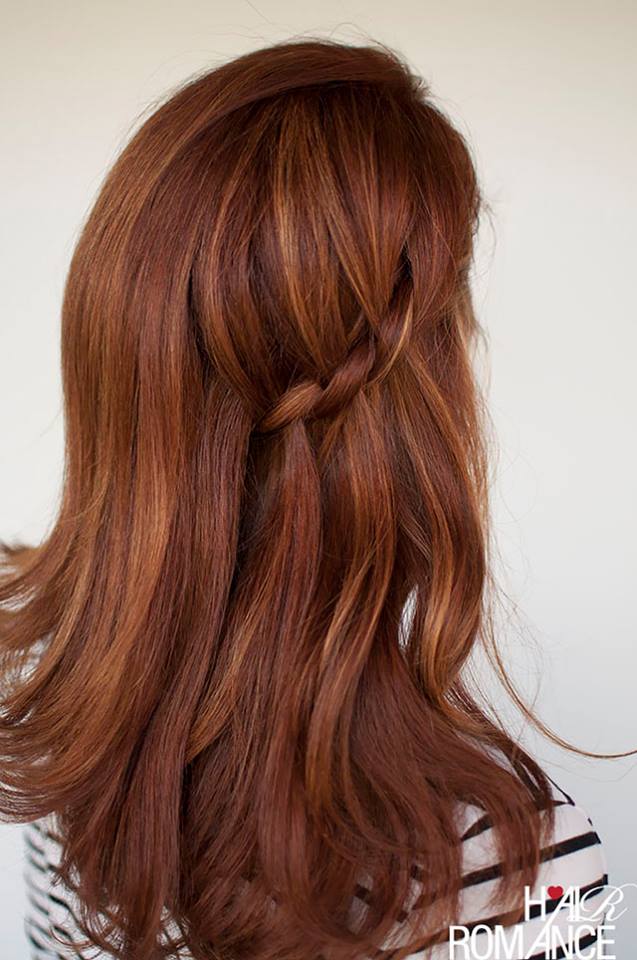
5. Complete your third waterfall twist section and you’re done.
6. Now you just need to pin it in place. Lift up your hair at the back of your head and pin the twist underneath so that the ends are covered. If you want it to be more secure, use a small clear elastic at the end of the third twist and then pin the ends underneath. Cover the pins with the rest of your hair.
Styling tips to get the look ::
To get a consistent look, make sure the waterfall sections you add to come through the twist are the same size.
As you’re not really adding in any hair to this twist other than the two original sections, make sure you take a large enough section to twist. If the section is too small, you won’t be able to see the twist through your hair.
When you pin the hair at the back of your head, you may want to just tease the hair a little and weave the bobby pin through so that it holds better.
This style is simple enough to wear every day but it’s also perfect for a wedding or date night. Where would you wear this hairstyle?
Christina xx
Christina Butcher is a full-time blogger and New York Times bestselling author. When she’s not fighting bad hair days at Hair Romance or inspiring adventures with her husband Jim at Mr & Mrs Romance she’s helping bloggers grow their Little Blog Big with live workshops and networking events.